Getting started with bathroomexhaustfanventing.com
Getting started with bathroomexhaustfanventing.com usually means fixing the duct, the roof or wall cap, or the slope before the fan itself. Use the…
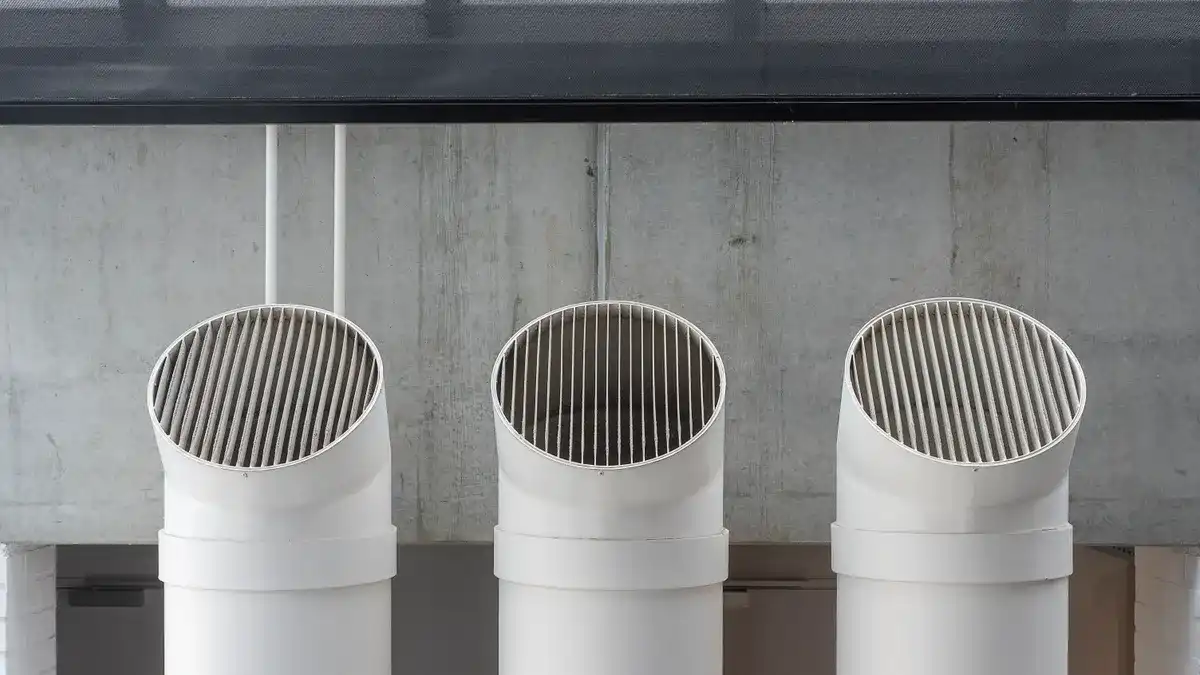
Three rooftop exhaust vent pipes
Last updated: November 11, 2026
Getting started with bathroomexhaustfanventing.com usually means fixing the duct, the roof or wall cap, or the slope before the fan itself. Use the shortest, straightest run you can, vent outdoors, and avoid flex duct unless the run is short and supported. The steps below settle what to do, what to skip, and when the standard advice flips.
Key Takeaways
- A bathroom fan is only as good as its vent path.
- Shorter duct runs move air better than long, twisty ones.
- Venting into an attic or crawlspace is a bad move, even if the fan itself is strong.
- Smooth, rigid duct usually beats flex duct for airflow.
- The right cap, slope, and insulation matter as much as the fan size.
- Some repairs are simple; others need a roof, wall, or electrical pro.
What actually determines the right bathroom exhaust fan venting path?
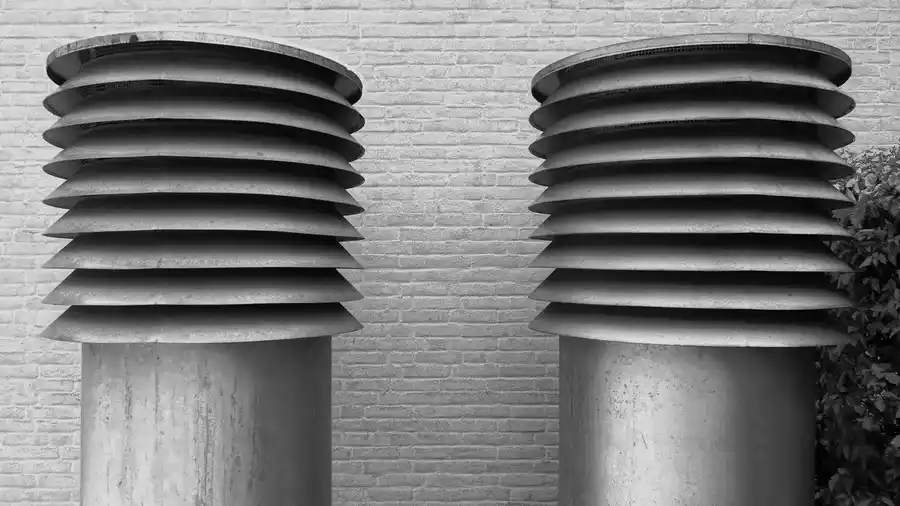
The right path depends on distance, route, and termination more than on fan brand. If the fan has a 4-inch outlet, a short run to an exterior wall is usually easier than a long climb to the roof. If your attic is unconditioned, that route needs more care because warm moist air will condense fast in cold duct.
Picture this: you’re standing in a hallway ceiling, trying to figure out if the fan can go out the roof, through a gable wall, or straight up into the attic. The answer changes with each of those paths, and the wrong one can leave water stains, mold, and a noisy fan. That’s why the first job is not buying parts—it’s mapping the route. The route matters more than the fan label.
Here’s the basic filter:
- If the fan can exit a nearby exterior wall, that’s often the simplest clean solution.
- If the fan must go to the roof, you need a proper roof cap and careful flashing.
- If the duct passes through cold attic space, it needs insulation and good support.
- If the old setup dumps air into the attic, it needs correction, not patching.
A good reference for venting practice is the International Residential Code, which requires exhaust air to terminate outdoors, not in an attic or crawlspace. The U.S. Department of Energy also has plain-language guidance on bath fan venting and duct insulation.
Quick check: if you can trace the fan outlet to a real exterior termination in one clean line, you’re on the right track.
How do I tell if the existing setup is wrong?
The existing setup is wrong if the duct ends in the attic, if it sags like a hammock, or if the grille has heavy dust and damp staining after showers. A fan can sound fine and still fail at moving moisture outside.
Because of that, open the attic hatch and look for a loose duct dumping humid air into open joists. That is not a minor issue. It’s a moisture problem with a timer on it, and winter makes it worse. If your bathroom ceiling has peeling paint or the attic insulation feels damp near the duct, the vent path is suspect. That is a red flag.
Use this quick decision table:
| Situation | Best Path | Why Other Options Fail |
|---|---|---|
| Duct ends in attic | Reroute to wall or roof cap | Moist air stays in the building and condenses on cold surfaces |
| Long run with many bends | Shorten route or move termination | Friction and turbulence cut airflow |
| Flexible duct everywhere | Replace with smooth duct if possible | Flex ribs slow air and collect lint and water |
| No insulation on duct in cold attic | Insulate the duct | Bare duct sweats and drips |
| Weak outside cap | Upgrade cap with backdraft damper | Wind and damp air can push back into the duct |
If you’re unsure, check the attic while the fan runs. A steady stream at the termination is what you want. Weak airflow, fluttering, or visible condensation near joints means the path needs work.
Quick check: if the attic smells like the bathroom after a shower, the venting is probably failing.
Which duct material and size should I use?

Rigid duct is usually the better choice, and 4-inch duct is the common starting point for many bath fans. If the fan manual calls for 6-inch duct, follow the manual; shrinking it to 4 inches can choke the system.
Picture this: you’re holding a box of shiny flex duct and thinking it looks easier to snake through the attic. It is easier to install, but that convenience can cost you airflow if the run is long or kinked. Smooth metal duct has less resistance. Flex duct is the compromise.
Use this simple rule set:
- Read the fan’s collar size and installation manual.
- Match the duct diameter to that outlet unless the manufacturer allows a different size.
- Keep the run as straight as possible.
- Use metal foil tape or mastic on joints, not cloth duct tape.
- Strap the duct so it doesn’t sag between joists.
- Insulate duct in unconditioned spaces.
A 4-inch fan on a straight 10-foot run is a very different setup from a 4-inch fan trying to push through 25 feet of flex, three elbows, and a cold attic. The second one may still work, but it has far less margin. Good ductwork is boring. Boring is good here.
For standards and fit, look at ASHRAE guidance on residential ventilation and the fan maker’s own installation sheet. Those two usually settle most size disputes.
Quick check: if your duct has deep sags, crushed spots, or taped-on random reducers, start over.
What’s the safest way to vent through a roof or wall?
A safer choice is usually the shortest exterior path with a proper cap, a tight seal, and the right flashing for the surface. If you have a clear wall route, that often means less roof risk. If the roof route is the only clean path, the flashing must be right or you’ve traded one problem for another.
Picture this: you’re choosing between drilling the roof or cutting a hole in a gable wall. The wall path avoids roof penetrations, but only if the termination is above snow, away from openings, and fitted with a proper damper cap. The roof path can look neat from inside, yet every roof hole is a leak risk if the flashing is sloppy. Termination details matter.
Use an ordered approach:
- Pick the exit point with the fewest bends.
- Confirm the cap fits the duct diameter.
- Install a backdraft damper if the cap does not include one.
- Seal the duct connection with metal foil tape or mastic.
- Keep the duct insulated before it reaches the cap in cold zones.
- Flash and seal the exterior opening per the roof or wall system.
- Test with the fan running and feel for a strong exhaust pulse.
A roof cap without proper flashing can leak even if the duct inside is perfect. A wall cap placed too close to a window or soffit can dump humid air where it shouldn’t go. On the flip side, a good wall termination can be simpler to maintain than a roof cap because you can inspect it from the ground.
For code language, the International Residential Code and local amendments usually govern where exhaust can terminate. Local rules win if they are stricter.
Quick check: if you can reach the cap for inspection without a ladder circus, you may have picked the better route.
When does the standard advice break down?
The standard advice breaks down when the house layout, climate, or fan size makes the “simple” route a trap. In those cases, you change the path, not the physics.
Picture this: the bathroom is in the middle of a two-story house, the attic is tight, and the only outside wall is far away. Or the fan is quiet on paper, but the duct run is long enough to choke it. These are the cases where a generic “just vent it outside” answer is not enough. The exception changes the plan.
Here are the edge cases that matter most:
- Long attic run → What changes: friction and condensation go up. What to do instead: use rigid duct, fewer elbows, and insulation; if possible, move the termination closer.
- Cold climate attic → What changes: the duct sweats fast. What to do instead: insulate the full run and seal every joint.
- High-humidity bathroom → What changes: moisture load is heavier. What to do instead: keep the run short and verify the fan matches the room size.
- Shared fan on a multi-room path → What changes: backdraft risk rises. What to do instead: use a layout that avoids crossflow, and check dampers carefully.
- Older home with no easy exterior wall → What changes: roof work may be the cleanest route. What to do instead: plan for proper flashing and a roof cap that matches the duct.
- Low attic clearance → What changes: big rigid duct may not fit. What to do instead: use the supported path available and keep bends gentle.
A good rule is that the harder the route, the more the installation must be treated like a system, not a single fan. That’s where many generic guides fall apart. They talk about the fan and ignore the path.
Quick check: if your house layout makes every route awkward, you’re in the exception zone, not the standard one.
What tools and parts should I have before I start?
You should have a drill, a hole saw or jigsaw, foil tape, mastic, insulated duct, clamps, a screwdriver, and a flashlight before you cut anything. If you’re going through a roof, add proper flashing tools and a ladder that reaches safely past the edge.
Because of that, check your parts before you open the ceiling. If you’re missing a clamp, a sealant, or a tape that actually holds under heat, the job will stall. The right parts save the job.
A practical starter list:
- Fan unit sized for the room
- 4-inch or 6-inch duct, as specified
- Insulated duct wrap for cold spaces
- Metal foil tape
- Duct mastic
- Hose clamps or worm-drive clamps
- Roof cap or wall cap with damper
- Fasteners for the cap and duct supports
- Safety gear for attic or roof work
A common mistake is using cloth-backed duct tape. It fails in heat and humidity, and it peels faster than people expect. Another mistake is leaving the duct loose in the attic. A sagging run traps water and slows airflow. If you’re not comfortable with roof flashing or electrical tie-in, that part belongs with a licensed pro.
For product and material choices, look for the fan maker’s install sheet and local building code rules. Those two sources usually answer the “what fits?” question better than a random hardware aisle guess.
Quick check: if your shopping list does not include proper sealant and a real exterior cap, you’re not ready yet.
FAQ: Getting started with bathroom exhaust fan venting
Can I vent a bathroom fan into the attic?
No, you should vent it outdoors. Dumping moist air into the attic can wet insulation, stain wood, and grow mold. If that’s what the current setup does, reroute the duct to a roof or wall termination instead.
Is flexible duct okay for a bathroom fan?
Yes, but only in some runs. Short, well-supported flex can work in tight spaces, but it adds resistance and can sag if it’s not strapped correctly. For a longer route, smooth rigid duct is usually the better choice.
Do I need to insulate the duct?
Yes, if the duct passes through unconditioned space like a cold attic. Insulation helps reduce condensation inside the duct and on the outside of the pipe. That matters most in winter and in humid climates.
Which is better, roof venting or wall venting?
Wall venting is often simpler if the fan is near an exterior wall. Roof venting can work well too, but it adds flashing work and roof leak risk if the details are sloppy. The better choice is usually the shortest clean path to outdoors.
How do I know if my fan is strong enough?
Check the fan’s installation sheet for the room size it’s meant to handle and compare that to your bathroom’s actual layout. Long duct runs, too many elbows, and undersized duct can make a decent fan act weak. If the room stays steamy for a long time after a shower, the system may be undersized or poorly vented.
Drafted with AI; not yet reviewed by a person.


2 thoughts on “Getting started with bathroomexhaustfanventing.com”