Replace a Bathroom Exhaust Fan Without Rewiring
A like-for-like bathroom fan swap is safe DIY once the breaker is off and voltage-tested. See the 5-point scope check for when to call an electrician.
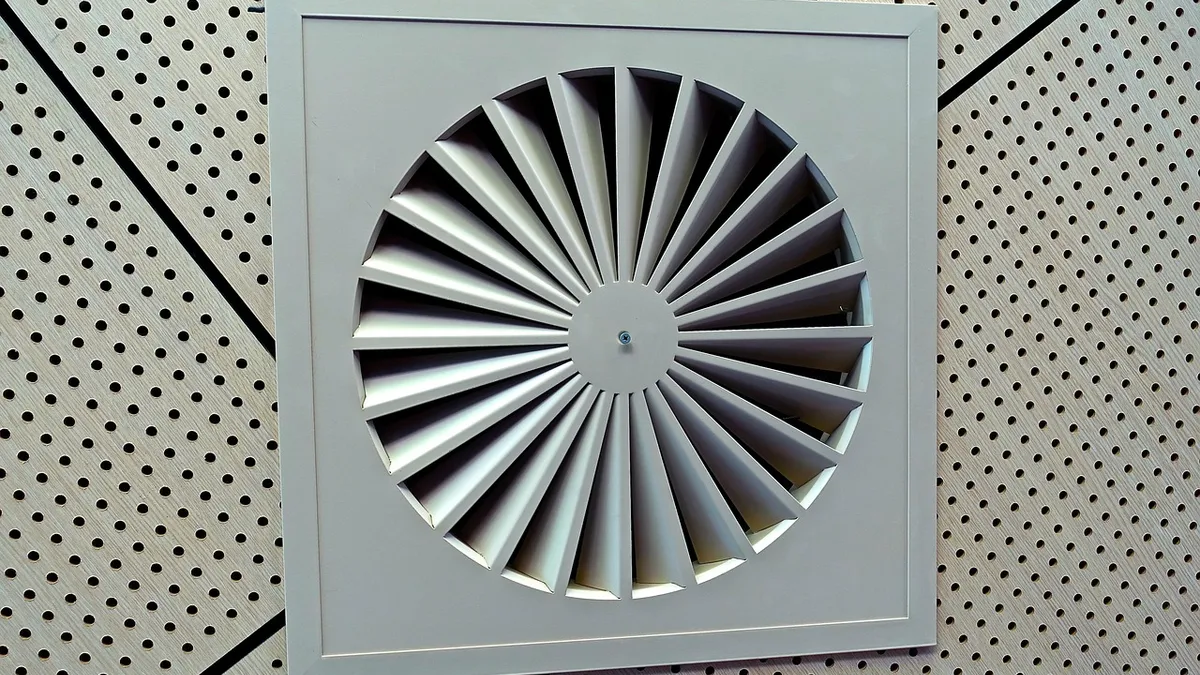
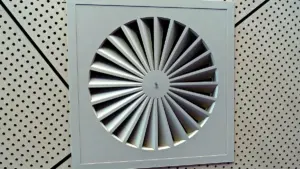
Image: MemoryCatcher via Pixabay
A like-for-like bathroom fan swap — same ceiling hole, same duct collar size, same electrical circuit — is a job many homeowners can do safely, breaker off and tested with a voltage tester first. If the new fan needs a bigger duct, a different switch wire, or GFCI protection this circuit doesn’t have, stop and call a licensed electrician instead.
Key takeaways
- Breaker off and confirmed dead with a voltage tester, every time. A wall switch alone doesn’t guarantee the circuit is dead, and this step comes before anything else below.
- This guide covers a like-for-like swap only: same ceiling opening, same duct collar size, same circuit and switch wiring as the fan you’re removing.
- If the new fan needs a bigger duct, a new wire run, a neutral wire at the switch, or GFCI protection your circuit doesn’t already have, that’s an electrician’s job, not a parts swap.
- Manufacturer installation instructions are explicit that work beyond a basic swap — and any fan rated for installation over a tub or shower — has its own wiring requirements that must be followed exactly.
- Stop and call a licensed electrician immediately if you find no ground wire, melted insulation, scorch marks, or wiring that doesn’t match a standard factory setup once the old fan is out.
Is this a simple swap, or an electrician’s job?
Before you buy a replacement fan, work through this scope check. It’s the step most how-to pages skip, and it’s the difference between an afternoon project and a job that needs a permit and a licensed electrician.
| Check this | If yes | If no |
|---|---|---|
| Does the new fan’s housing fit the same ceiling opening as the old one? | Proceed — this is the normal case for a like-for-like swap. | Stop. A larger housing means cutting ceiling material, which is beyond this guide’s scope. |
| Does the new fan’s duct collar match your existing duct size? | Proceed — connect to the existing duct run. | Stop, or confirm first. Many fan lines ship a 4-inch adapter at lower CFM ratings but need 6-inch duct at higher ratings — see our CFM sizing guide before you buy. Swapping duct size mid-run is a bigger job than a fixture swap. |
| Will the new fan use the same circuit, same switch, and the same wire connections (hot, neutral, ground) as the old one? | Proceed — reconnect the existing wires to the new fan’s leads. | Stop. A new wire run, a new dedicated circuit, or a different amperage requirement is an electrician’s job. |
| If you’re also changing the wall switch (to a timer or humidity-sensor model), does it need a neutral wire your switch box doesn’t have? | Proceed — most single-pole timer and humidity switches don’t require a neutral. Check the specific switch’s own wiring diagram to confirm, since this varies by model (see our timer vs. humidity switch guide). | Stop. Adding a neutral where one doesn’t exist is a wiring job, not a switch swap. |
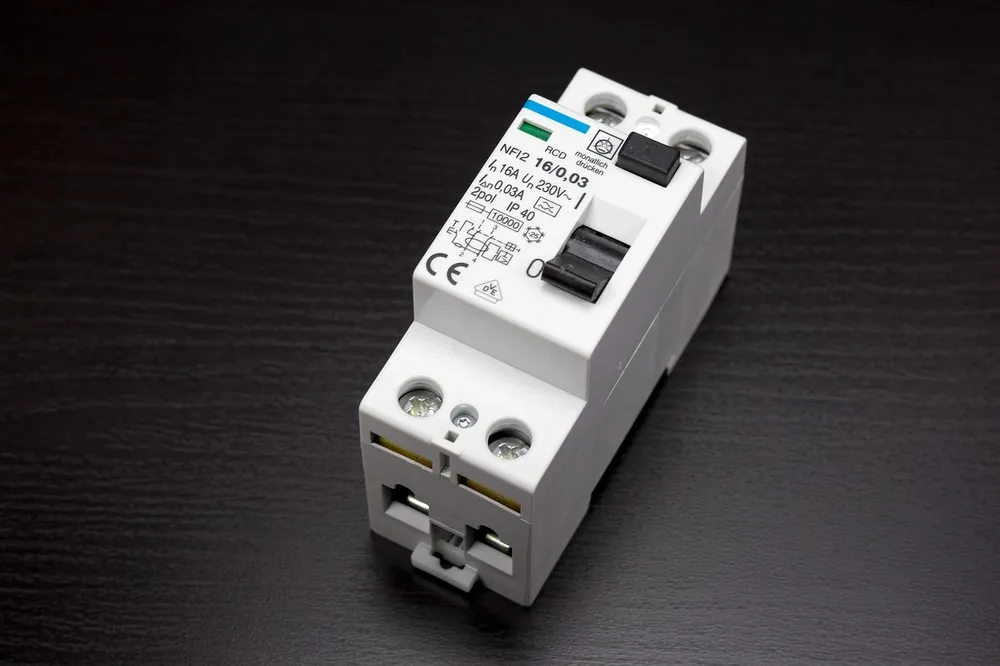
| Is the new fan rated for installation over a tub or shower, and does it require GFCI-protected power that this circuit doesn’t already have? | Proceed if the circuit is already GFCI-protected (confirm at the panel or outlet). | Stop. Adding GFCI protection where it doesn’t exist means working at the panel or wiring in a GFCI device — an electrician’s task. |
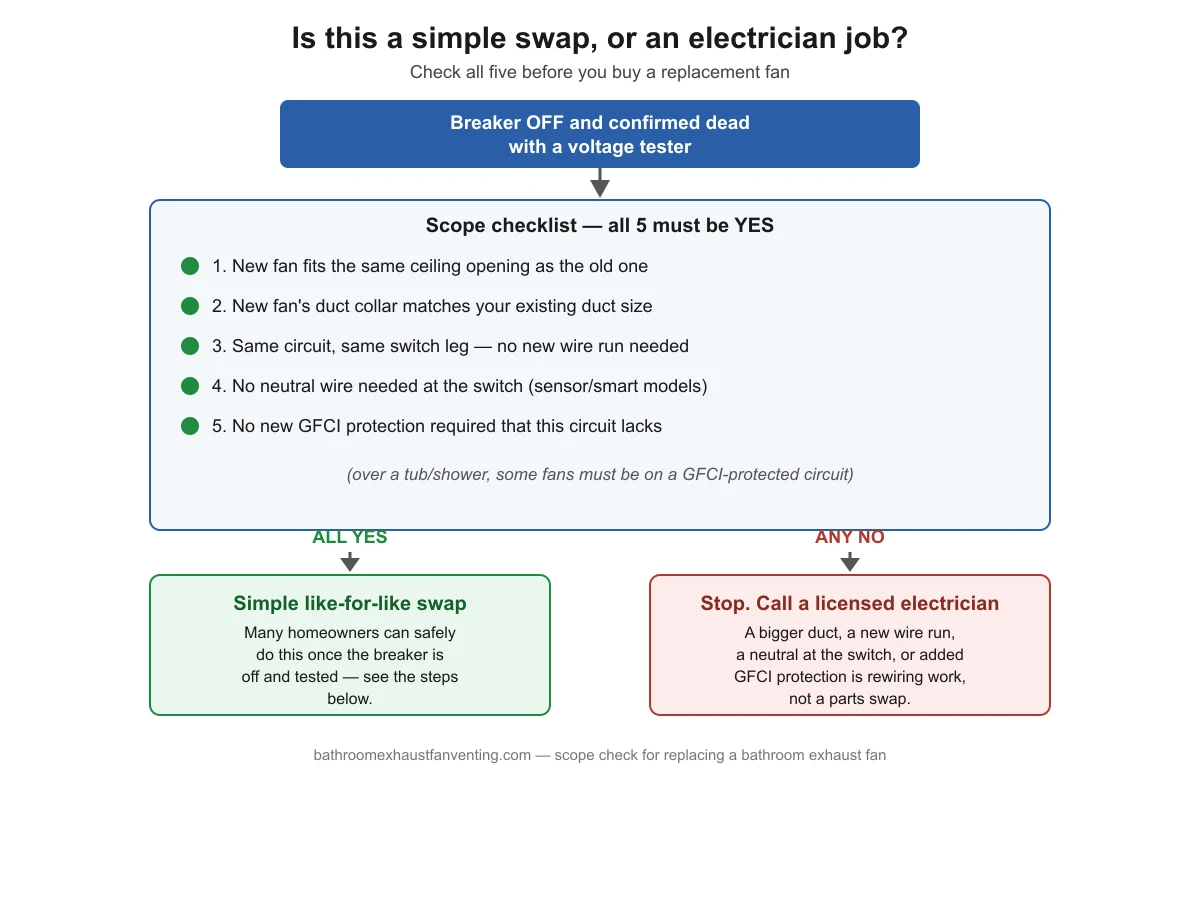
If any answer points to “stop,” this isn’t the guide for that job — call a licensed electrician to scope it properly. If every answer points to “proceed,” the rest of this guide walks through the swap itself.
Before you touch anything: breaker off, then test it
This is the step every rushed how-to page buries or skips, and it’s the one that actually matters. Do it before you so much as remove a grille screw.
- Turn the fan off at its wall switch. This stops it drawing current while you get to the panel, but a switch alone doesn’t prove the circuit is dead.
- Go to the breaker panel and switch off the breaker for that circuit. If you’re not certain which breaker it is, flip breakers one at a time until the fan stops, or turn off the main breaker if you can’t identify it.
- Test the wires at the fan with a voltage tester before you touch them. A non-contact or contact voltage tester, sold at any hardware store, is the only way to actually confirm a wire is dead — not the breaker label, not your memory of which one you flipped. Labels get mismatched and panels get re-wired over the years.
- If the tester shows any voltage, stop and recheck the breaker before proceeding.
This matches the baseline in bath-fan manufacturers’ own installation instructions. Panasonic’s installation manual for its WhisperCeiling ventilating fans states plainly: “Always disconnect the power source before working on or near the fan, motor or junction box,” and is direct about who should do any wiring beyond this: “Installation work and electrical wiring must be done by qualified person(s) in accordance with all applicable codes and standards.” A like-for-like swap — reconnecting the same wires to a new fan on the same circuit — is the kind of basic work most homeowners can do once the power is confirmed off; adding or changing wiring is not. The same logic sits behind workplace electrical safety rules: OSHA’s guidance on controlling hazardous energy explains that workers servicing equipment “may be exposed to serious physical harm or death if hazardous energy is not properly controlled” — exactly why you verify a circuit is dead with a tool, rather than assume it.
What you’ll need
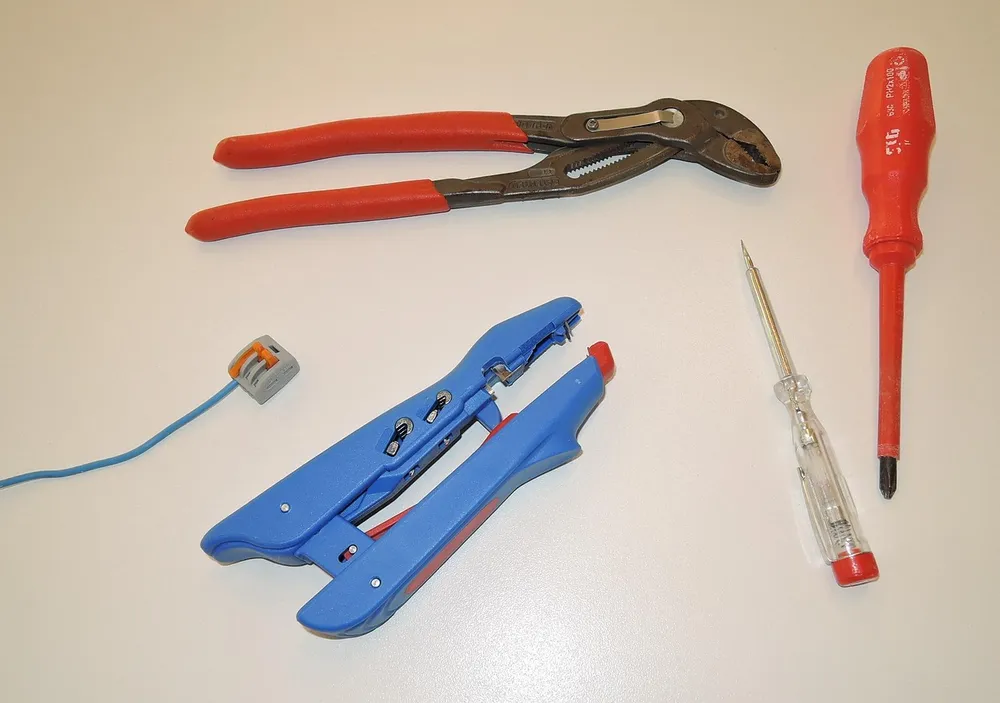
Beyond the replacement fan itself (matched for ceiling opening, duct size, and CFM — see our CFM sizing guide), a basic swap needs:
- A non-contact or contact voltage tester
- A screwdriver (Phillips and flathead) and a drill/driver
- Wire strippers and wire nuts (or the push-in connectors your new fan ships with)
- Duct clamps or foil tape rated for duct connections, plus mastic sealant if your existing duct needs resealing
- A step ladder tall enough to work at the ceiling comfortably
Removing the old fan
- Confirm the breaker is off and the wires are dead (see above). Don’t skip this because you did it five minutes ago — test again right before you disconnect wires.
- Remove the grille. Most grilles unclip from spring-loaded mounting clips or pull straight down; a few use screws.
- Remove the housing’s mounting screws that hold it to the ceiling joists or mounting bracket.
- Disconnect the wire nuts joining the house wiring to the fan’s leads. Note which wire went where (white to white/neutral, black to black/hot, bare or green to ground) — the new fan’s wiring will follow the same pattern.
- Look at the wiring before you reconnect anything new. If there’s no ground wire, if insulation looks melted or scorched, or if the splices don’t look like a standard factory setup, stop here and call a licensed electrician — don’t install a new fan onto wiring that already looks wrong. (If you’re here because of a burning smell rather than a routine upgrade, read our burning smell safety guide first; that’s a different, more urgent situation than a planned replacement.)
- Disconnect the duct from the old housing’s duct collar, and pull the old housing free of the ceiling opening.
Installing the new fan
- Dry-fit the new housing into the existing ceiling opening before connecting anything. Confirm it sits flush and the mounting points line up with your joists or existing bracket.
- Connect the duct to the new fan’s duct collar, matching the size you confirmed in the scope check. Secure the connection with clamps or foil tape rated for duct joints, and seal with mastic if the connection isn’t airtight — a loose duct joint lets moist air leak into the attic instead of outside.
- Connect the wiring: white to white (neutral), black to black (hot), and ground to ground, using wire nuts or the connectors supplied with the new fan. Tuck connections into the junction box so nothing is pinched when you close the cover.
- Secure the housing to the joists or bracket with the screws provided, following the new fan’s own installation instructions for mounting hardware — this varies by brand and model.
- Reattach the grille once the housing is fully secured.
- Restore power at the breaker, then test the fan at the wall switch. Confirm it runs smoothly with no unusual noise, smell, or vibration before you consider the job finished.
- Seal any gap between the housing flange and the ceiling with caulk, both for the fan’s airflow performance and to keep humid bathroom air from migrating into the attic around the fixture.

When should you stop and call a licensed electrician?
Beyond the scope check at the top of this guide, stop and bring in a licensed electrician if, once you’re actually into the job, you find:
- No ground wire, or a ground connection that looks improvised.
- Melted insulation, scorch marks, or a burning smell anywhere in the wiring or junction box.
- Wiring, splices, or a box that doesn’t match a standard factory setup.
- A breaker that trips again once you restore power.
- Any shock, even a slight one, from a wire, the switch, or the housing at any point.
- A new fan whose installation instructions call for a dedicated circuit, a neutral at the switch, or GFCI protection your current wiring doesn’t have.
None of these mean push through and finish anyway — they mean the job has turned into something other than a parts swap.
If you’re starting from scratch with a new vent route rather than a straight swap, our complete guide to how to vent a bathroom exhaust fan the right way covers duct sizing, routing, and code basics for a new installation.
Frequently asked questions
Can I really do this without hiring an electrician?
Yes, for a true like-for-like swap: same ceiling opening, same duct size, same circuit and wiring, breaker off and tested before you touch anything. That’s standard homeowner-level work. The moment the job needs a bigger duct, a new wire run, a neutral the switch box doesn’t have, or GFCI protection that isn’t already there, it’s no longer a simple swap, and that’s when to call a licensed electrician.
Do I need a permit to replace a bathroom exhaust fan?
A straightforward like-for-like swap, using the existing opening, duct, and wiring, typically doesn’t require a permit in most jurisdictions, but requirements vary by location. If the job grows into new wiring, a new circuit, or structural changes to the ceiling opening, check with your local building department — and at that point you’re also past the scope of a simple swap and into electrician territory anyway.
What if I’m not sure which breaker controls the fan?
Turn the fan on at its wall switch, then go to the panel and flip breakers off one at a time until the fan stops running. Label that breaker clearly once you’ve found it. If you genuinely can’t identify it and need to proceed, turning off the main breaker removes all doubt, though it also cuts power to the rest of the house while you work.
My new fan has a humidity sensor or smart switch. Does that change anything?
It might. Most single-pole timer and humidity-sensor switches are built to work without a neutral wire, using the existing hot and load wires — but some combination and smart-switch models do require one. Check the specific switch’s own wiring diagram before you buy, and if your switch box doesn’t have the wire the new switch calls for, that’s a wiring job, not a fixture swap.
Is it ever okay to skip the voltage tester and just trust the breaker?
No. Breaker labels get mismatched over the years, especially in houses that have had any electrical work done since they were built. A voltage tester takes seconds to use and is the only way to actually confirm the wires you’re about to handle are dead, rather than assume it based on a label or your memory.
Sources
- Panasonic Corporation, WhisperCeiling Ventilating Fan Installation Instructions, models FV-0511VQL1 / FV-1115VQL1 / FV-0511VQCL1 (2017) — manufacturer instructions on disconnecting power before service, qualified-person wiring requirements, retrofit installation into an existing opening with existing ductwork and wiring left in place, duct collar sizing (4 or 6 inch), and the GFCI requirement for units installed over a tub or shower. Checked November 12, 2026.
- Occupational Safety and Health Administration, Lockout/Tagout Fact Sheet (DEP FS-3529, 12/2022) — the core safety principle of controlling and verifying hazardous energy before servicing equipment. Checked November 12, 2026.
- U.S. Consumer Product Safety Commission, Home Electrical Safety Checklist (Pub. 513, July 2008) — guidance on shock hazards and GFCI protection in locations required by the National Electrical Code, including bathrooms. Checked November 12, 2026.
- Leviton Manufacturing, Decora In-Wall 60-Minute Countdown Timer Switch (DT160-1LW) — manufacturer specification confirming no-neutral-required wiring for this single-pole switch model. Checked November 12, 2026.
bathroomexhaustfanventing.com Editorial Team. Last updated: November 12, 2026.