Bathroom Exhaust Fan Venting Installation and Repair
Bathroom exhaust fan venting installation and repair — The Complete Guide: Bathroom exhaust fan vent ing problems usually come down to a blocked duct, a…
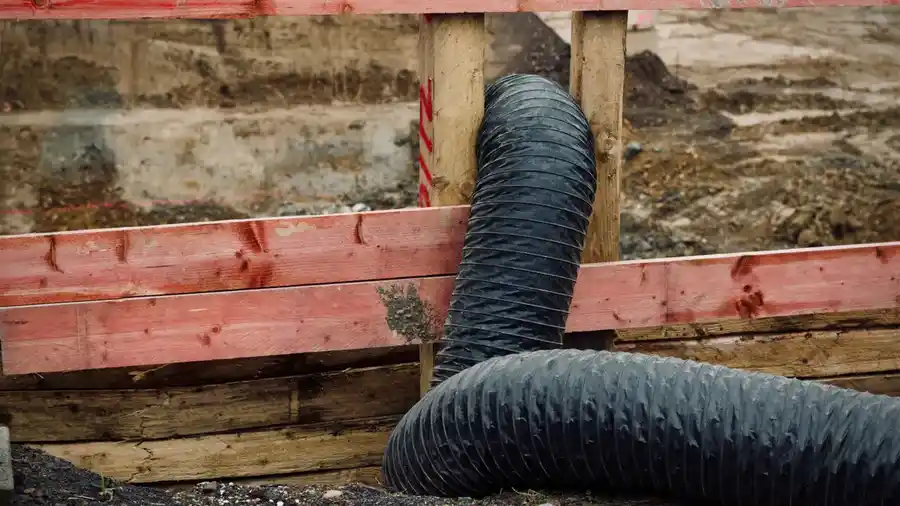
Flexible duct venting through a wall opening
Last updated: November 12, 2026
Bathroom exhaust fan venting problems usually come down to a blocked duct, a bad outside termination, or a fan that was never vented outdoors. If you are troubleshooting Bathroom exhaust fan venting installation and repair, the first check is simple: follow the duct all the way to the roof, soffit, or wall and confirm it actually leaves the house.
Quick answer: in 15 minutes, you can usually tell whether the problem is a blocked duct, a bad cap, or no outdoor vent at all. This guide gives a practical order for Bathroom exhaust fan venting installation and repair, from the fastest inspection to the full replacement, so you can tell what can be repaired and when the job needs a contractor.
Key Takeaways
- A fan that dumps into an attic is not a vented fan; it is a moisture problem with a grille.
- The outside cap matters as much as the fan housing. A crushed, disconnected, or stuck flap can make a good fan act weak.
- Short, straight ducts move air better than long runs with sharp bends.
- Condensation inside the duct usually means the duct is cold, uninsulated, or pitched the wrong way.
- Musty bathrooms, peeling paint, and damp attic wood are the usual signs of a venting failure.
- Small repairs are often about seals, clamps, and insulation. Big repairs are about rerouting the duct to the outdoors.
Why a bathroom fan can look fine but still vent badly
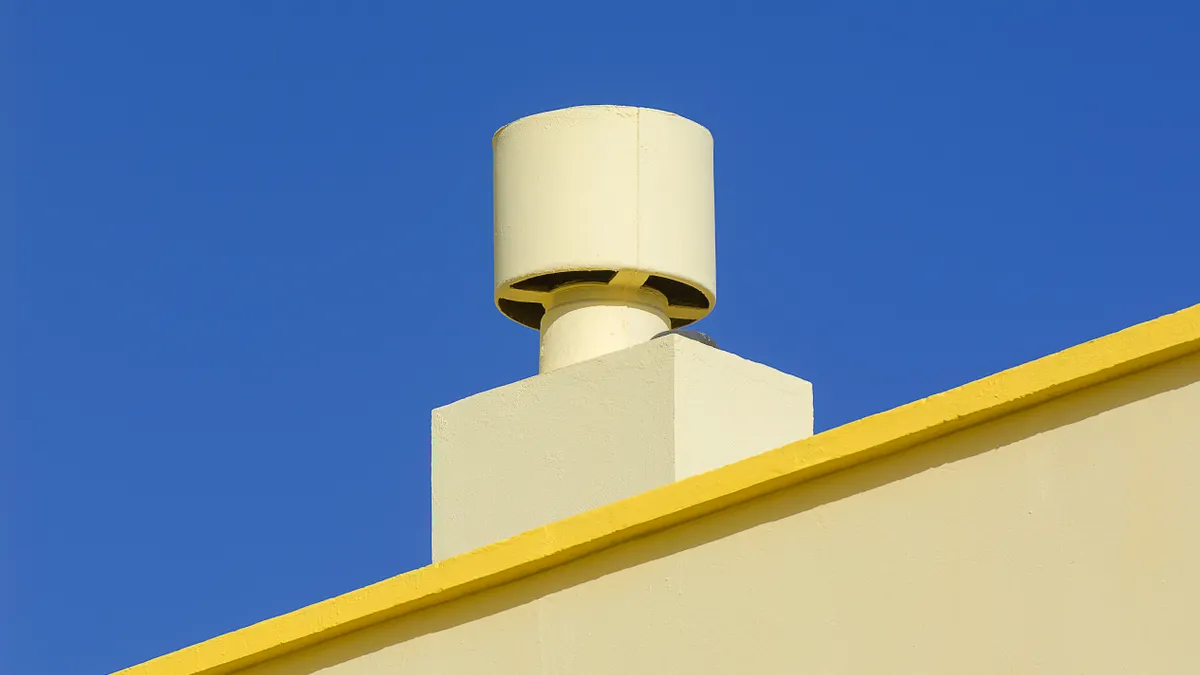
Because the fan may be running, you can flip the switch, hear the fan hum, and still find fog on the mirror 20 minutes later. The fan may be running, but the air path is blocked, leaking, or ending in the wrong place.
The key is to trace the whole system, not just the grille. A strong fan with a bad duct can perform worse than a smaller fan with a short, sealed run. That is why the first look should usually be at the route, the bends, and the outside cap.
| Part | What correct looks like | What wrong looks like |
|---|---|---|
| Fan housing | Mounted tight to framing | Hanging loose or noisy |
| Duct | Smooth path to outdoors | Kinked, crushed, or disconnected |
| Joints | Fastened and sealed | Tape peeling, gaps visible |
| Insulation | Wrapped in cold spaces | Bare metal in attic air |
| Termination cap | Opens freely | Stuck flap, rust, bird nest |
A bathroom fan that vents into an attic can still move air, but it dumps moisture where it should not go. That moisture condenses on framing and insulation, then creates the stains and mildew people blame on “bad ventilation.” The repair is not cosmetic. It is a routing problem.
How to tell if the fan is vented correctly
A properly vented fan sends air to the roof, soffit, or wall outside and leaves the attic dry. You can check that in about 15 minutes with a flashlight, a ladder, and a second pair of eyes if the outlet is high.
Before you start, make sure the room is quiet enough to hear the fan and the outdoor outlet. Then check the system in order.
- Turn the fan on and feel for suction at the grille.
- Go to the attic or exterior outlet and listen for airflow.
- Check whether the duct reaches a real exterior cap, not open attic space.
- Look for sagging pipe, crushed flex duct, or gaps at joints.
- Inspect the termination cap flap for free movement and debris.
- Check for wet insulation, dark wood, or rusty fasteners near the duct path.
What to check: the air should leave the house, the duct should stay supported, and the cap should open when the fan runs. What not to do: do not assume that a duct stub in the attic counts as venting, and do not rely on tape alone where a clamp and proper seal are needed.
| Checkpoint | Correct sign | Wrong sign | Usual fix |
|---|---|---|---|
| Air at outlet | Noticeable flow | No flow | Clear blockage, reconnect duct |
| Duct pitch | Slight slope to outlet | Belly or sag | Rehang duct with support |
| Duct length | Short and direct | Long with extra turns | Reroute if possible |
| Outside cap | Flap moves | Flap stuck shut | Replace cap |
| Attic around duct | Dry insulation | Wet or stained wood | Repair leak and insulation |
Many failures show up as one obvious clue. A dead flap, a nest, or a duct that ends short of the roof deck tells you where to start before you spend money on a new fan.
The correct way to install bath fan venting, step by step
A good vent install is short, sealed, insulated, and routed to the outdoors with the fewest turns possible. That sounds simple, but it rarely is in an older house because joists, trusses, and roof lines get in the way.
The order matters. Start with the outlet, then the duct, then the insulation.
- Choose the outlet path.
- Check the fan’s duct size.
- Plan the shortest run.
- Cut the opening for the exterior cap.
- Run and support the duct.
- Seal every joint.
- Insulate the duct in cold spaces.
- Test airflow at the cap.
1. Choose the outlet path.
Pick roof, wall, or soffit only if the path stays clear of insulation, framing, and water hazards. What to check: the outlet should end outdoors and away from attic storage. What not to do: do not dump into the attic, garage, or crawlspace.
2. Check the fan’s duct size.
Match the duct to the fan collar, often 4 inches or 6 inches. What to check: the collar size is marked on the housing or in the instructions. What not to do: do not squeeze a 6-inch fan into 4-inch duct without checking the fan rating.
3. Plan the shortest run.
Measure the path and count bends. What to check: fewer turns means better airflow. What not to do: do not add extra elbows to dodge a small obstacle if another route is cleaner.
4. Cut the opening for the exterior cap.
Place the cap where water sheds away from the house. What to check: the cap sits flat and has weather flashing or proper trim. What not to do: do not place the outlet where a downspout, deck, or eave can block it.
5. Run and support the duct.
Use rigid or smooth duct where possible and support flex duct so it does not sag. What to check: the run should rise or stay level as required by the route. What not to do: do not leave a long belly that traps water.
6. Seal every joint.
Fasten connections with clamps or approved fasteners and seal the seams. What to check: no visible gaps, no loose joints, no air leaks. What not to do: do not depend on cloth duct tape; it dries out and lets go.
7. Insulate the duct in cold spaces.
Wrap duct in unconditioned attic areas. What to check: insulation covers the full cold section. What not to do: do not leave bare metal where moist air can condense.
8. Test airflow at the cap.
Turn the fan on and confirm the flap opens and air exits outside. What to check: steady discharge, no rattling, no backdraft. What not to do: do not stop at the grille and assume the system works.
What a bad repair looks like — and why it keeps failing
Once a repair is attempted, the fan may sound louder, but the mirror still fogs and the attic still smells damp. That usually means the problem was patched, not solved. A bad repair hides the leak without fixing the route.
The telltale mistakes are easy to spot if you know where to look. A repair that uses loose foil tape over a sagging duct, for example, may hold for a season and fail at the first cold snap. The same goes for a cap with a stuck damper; it looks finished from the ground, but it still traps moisture in the line.
| Bad repair | Why it fails | Better correction |
|---|---|---|
| Tape over gaps only | Air still leaks | Reconnect and seal joint |
| Duct ends in attic | Moisture stays inside | Extend to exterior cap |
| Long flex with sag | Condensation pools | Shorten and support duct |
| Missing insulation | Condensation forms | Wrap cold section |
| Rusted or jammed cap | Backflow and blockage | Replace outside termination |
The most common false fix is chasing the symptom at the bathroom ceiling. If the grille is clean but the outlet is wrong, the fan is still misvented. That is why the repair needs to follow the moisture, not just the noise.
On the other hand, a small repair can make a real difference when the route is already correct. Tightening a loose connection, replacing a broken cap, or re-pitching a sagging section can restore airflow without replacing the whole fan.
How much bathroom exhaust fan venting work usually costs
Bathroom exhaust fan venting work usually costs less for a simple repair and more for a full reroute through an attic, roof, or exterior wall. The price depends on access, duct length, roof height, the outlet location, and whether the fan itself also needs replacement.
| Job type | Typical scope | What changes the price |
|---|---|---|
| Minor repair | Reconnect, reseal, replace cap | Easy attic access, short run |
| Mid-level repair | Add insulation, replace duct section | Long run, tight framing |
| Full reroute | New path to roof or wall outlet | Roof work, complex route |
| Fan plus vent | Replace housing and duct | Wiring, drywall, access |
| Diagnostic visit | Inspect and quote | Travel, attic access, height |
A small repair may be a few parts and a short labor visit, while a full installation can involve roofing, attic crawling, and interior patching. If the ceiling is hard to access, the run is long, or the current fan is undersized, expect the job to take longer and cost more.
What to ask before you hire anyone:
- Will the duct terminate outside, and where?
- Will you reuse the fan or replace it?
- Is the estimate based on roof work, wall work, or attic-only access?
- Will insulation and sealing be included?
- What happens if the fan housing is the wrong size for the new duct?
The cheapest quote is often the one that skips the hard part. If the contractor does not mention the outlet cap, duct support, or insulation, the “repair” may only be a quick patch.
Should you repair the vent or replace the whole system?
You should repair the vent when the fan housing still works, the route is close to correct, and the main problem is a damaged duct, bad cap, or poor seal. Replace more of the system when the housing is noisy, weak, corroded, or too small for the room.
A bathroom fan that runs but barely moves air may be undersized for the space or restricted by a long duct run. If the fan is old, loud, and hard to clean, replacement often makes more sense than piecemeal fixes. That is especially true when the housing, duct size, and outlet location all fight each other.
- Check the outside outlet first.
- Inspect the duct for damage or sagging.
- Listen for bearing noise or rattling in the fan.
- Look for rust, dust buildup, or cracked housing.
- Compare the duct size to the fan collar.
- Choose repair only if the route and fan still match the room.
What to check: a repair should solve the root problem, not just cover the symptom. What not to do: do not spend money on a new grille if the duct still ends in the attic. That is lipstick on a leak.
| Condition | Repair makes sense | Replace makes sense |
|---|---|---|
| Cap stuck or broken | Yes | No |
| One joint leaking | Yes | No |
| Duct badly routed | Sometimes | Often |
| Fan very loud | Sometimes | Yes |
| Fan old and weak | Rarely | Yes |
The best repair is the one that stops moisture at the source. If the route is fundamentally wrong, replacement is cleaner than stacking fixes on top of a bad layout.
What to ask a contractor before they touch the duct
Because the duct path determines whether the repair lasts, a good contractor should tell you where the air will exit, what duct size they plan to use, and how they will seal and support the run. If they dodge those questions, that is a warning sign.
Picture this: you are standing in the attic while someone points at the fan and says, “That should be fine.” It should not be a hand wave. You need a clear route, a clear outlet, and a clear fix for any wet material already in the attic.
Ask these questions:
- Where does the duct end now, and where will it end after the repair?
- Will you use rigid, semi-rigid, or flex duct, and why?
- How will you stop condensation in the cold section?
- Will you replace a bad cap or reuse the existing one?
- If the attic has water staining, will you show me exactly what was repaired?
What to check: you want a plain answer that matches the layout of the house. What not to do: do not accept a vague promise that “it vents fine now” without seeing the outlet and the duct path.
For standards and product guidance, two outside sources are worth reading: the U.S. Environmental Protection Agency’s indoor air quality guidance and the Home Ventilating Institute’s product and installation information. Those references help with moisture and airflow basics, even though every house still needs a site-specific plan.
What the repair should look like when it is done right
A correct repair leaves a clear path from the bathroom to the outside, with no loose joints, no sagging run, and no damp attic material near the duct. The outlet flap opens, the fan sound is steady, and the bathroom clears faster than before.
The key here is the finished route — notice how the duct stays supported and insulated from the fan to the cap. That is what separates a real fix from a patch job that only looks neat at the grille.
| Finish check | Good result | Bad result |
|---|---|---|
| Air path | Direct to outdoors | Ends in attic |
| Duct support | Even, secure hangers | Sagging low spots |
| Sealing | Joints closed tight | Visible leaks |
| Insulation | Full cold-run coverage | Bare duct in attic |
| Exterior cap | Opens and closes freely | Stuck, rusted, or blocked |
A clean finish should also leave no new drywall mess or loose fasteners, and the attic should not smell damp after a few bathroom runs. If the moisture problem stays the same, the system is still wrong.
FAQ
Why is my bathroom fan venting into the attic?
Because someone connected the duct but never carried it to an exterior outlet, or the outlet disconnected over time. This is common in older houses and quick remodels. The fix is to trace the full run and extend it to a roof, wall, or soffit cap outside.
How far can a bathroom fan vent run be?
That depends on the fan model, duct size, and number of bends. A short, straight run works better than a longer run with several elbows. If the layout is long or twisty, the fan may need a larger duct or a different route.
Can I just replace the fan grille and leave the duct alone?
No, not if the duct is broken, disconnected, or ending in the attic. A new grille only changes the room-side appearance. The moisture problem stays where it is until the air leaves the house properly.
What does a bad venting job usually look like?
You may see wet insulation, stained wood, rusted hardware, or a cap that never opens. In the bathroom, the mirror may stay foggy and paint may peel near the ceiling. Those are signs the fan is moving air poorly or venting to the wrong place.
When should I stop and call a pro?
Because roof work, tight attics, and damaged framing can turn a simple vent issue into a larger job, call for help if the duct runs through a tight attic, the roof outlet needs flashing work, or the fan housing has to be replaced. Also stop if you find rotten wood, mold-like staining, or electrical damage around the housing, and consult a qualified professional before continuing. Those are not simple patch jobs.
Drafted with AI; not yet reviewed by a person.